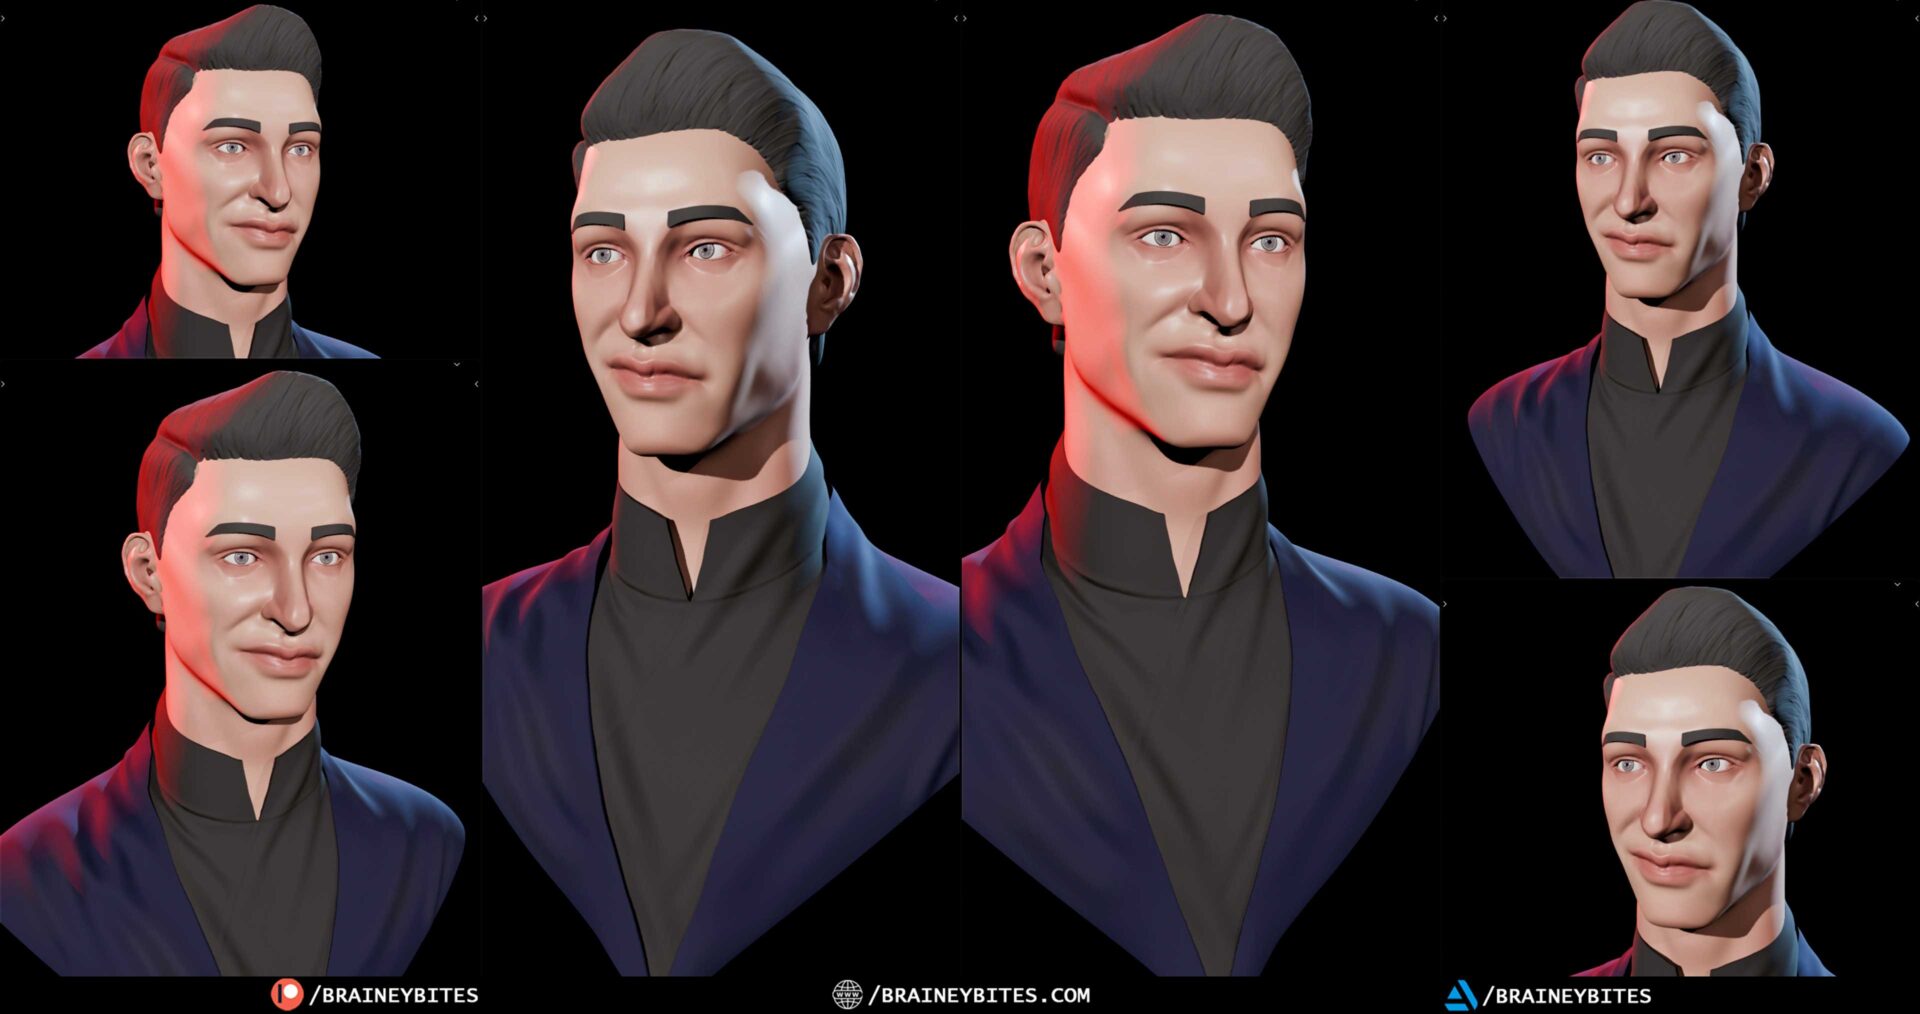
I want to be upfront about something before you scroll: this is not a tutorial. There is no step-by-step, no settings list, no “do this and you will get the same result.” This is just me showing you the screenshots from a sculpt I finished recently, and telling you honestly what happened along the way.
It started the way a lot of my projects start — badly, and by accident.
It began with a portrait I did not make
I was scrolling Pinterest, which is a dangerous thing for anyone with unfinished projects, and I stopped on a portrait. Nothing dramatic about it. A man, sharp jaw, dark hair pushed straight back, a high collar. But something about the proportions caught me — the way the face read as stylised and believable at the same time.
And the thought arrived that always arrives: could I make that?
Not trace it. Not model it in pieces. Sculpt it. From nothing.
So I opened Blender, added a UV sphere, and that was the entire starting point. No base mesh, no head template, no downloaded starter file. One grey ball floating in an empty scene.
The sphere stage is the honest stage
There is a screenshot in this set that is just a sphere with two arrows pointing at what it eventually became, and I put it in the thumbnails on purpose, because I think it is the most useful image in the whole set.
Everyone who sculpts knows this feeling, and nobody who does not sculpt believes it: for the first while, it looks like nothing. It looks worse than nothing. It looks like a potato with ambitions. The temptation to start refining early — to fix the nose before the skull is right — is enormous, and it is a trap I have fallen into more times than I would like to count.
So this time I made myself stay in blockout longer than felt comfortable. Big shapes. Skull mass. Where the jaw actually sits under the ear. Where the neck enters the head, which is the thing that quietly ruins more character sculpts than any other single mistake.
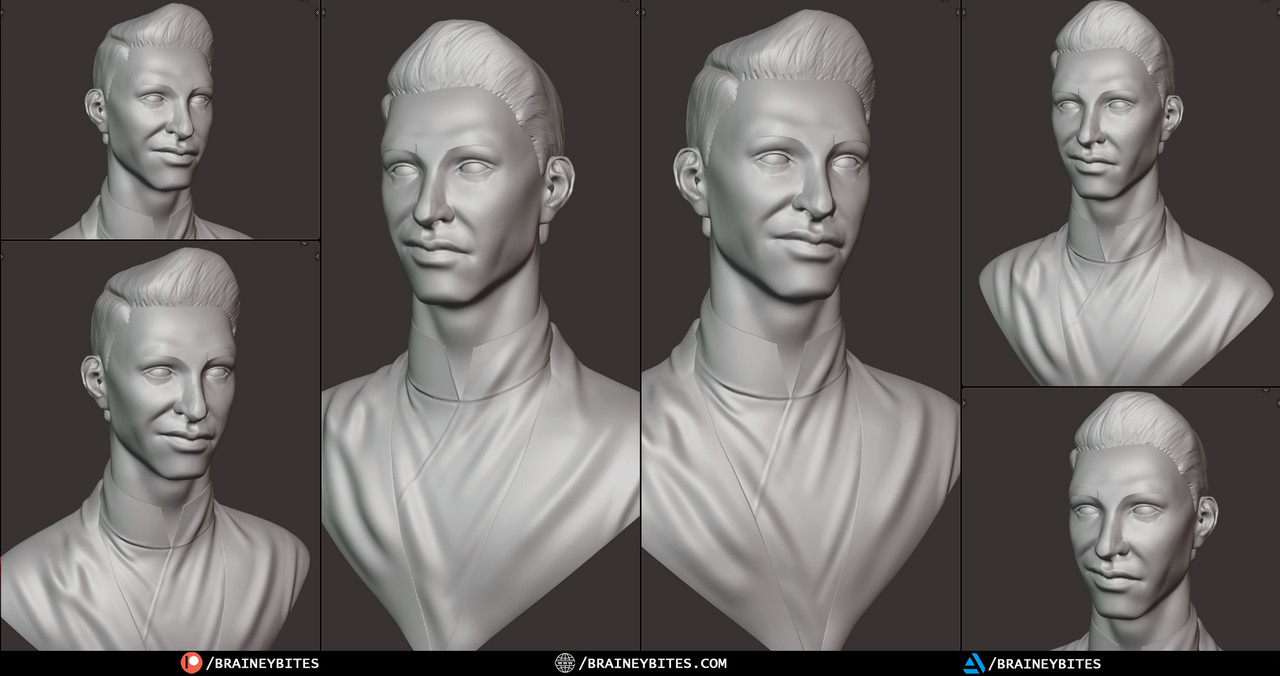
You can see it in the grey screenshots — that stage where the face has structure but no personality yet. Flat brows, no eyes, a mouth that is more of a suggestion. Boring to look at. Absolutely essential.
The moment it becomes a person
There is a specific point in every head sculpt where it stops being geometry and starts being someone. For me it is almost always the eyes.
Not the eyeballs — the sockets. The moment the brow ridge casts a shadow over the eye and the cheekbone catches light on the other side, the whole thing snaps into being a face. Before that you are pushing clay. After that you are sculpting a person, and you get weirdly protective of them.
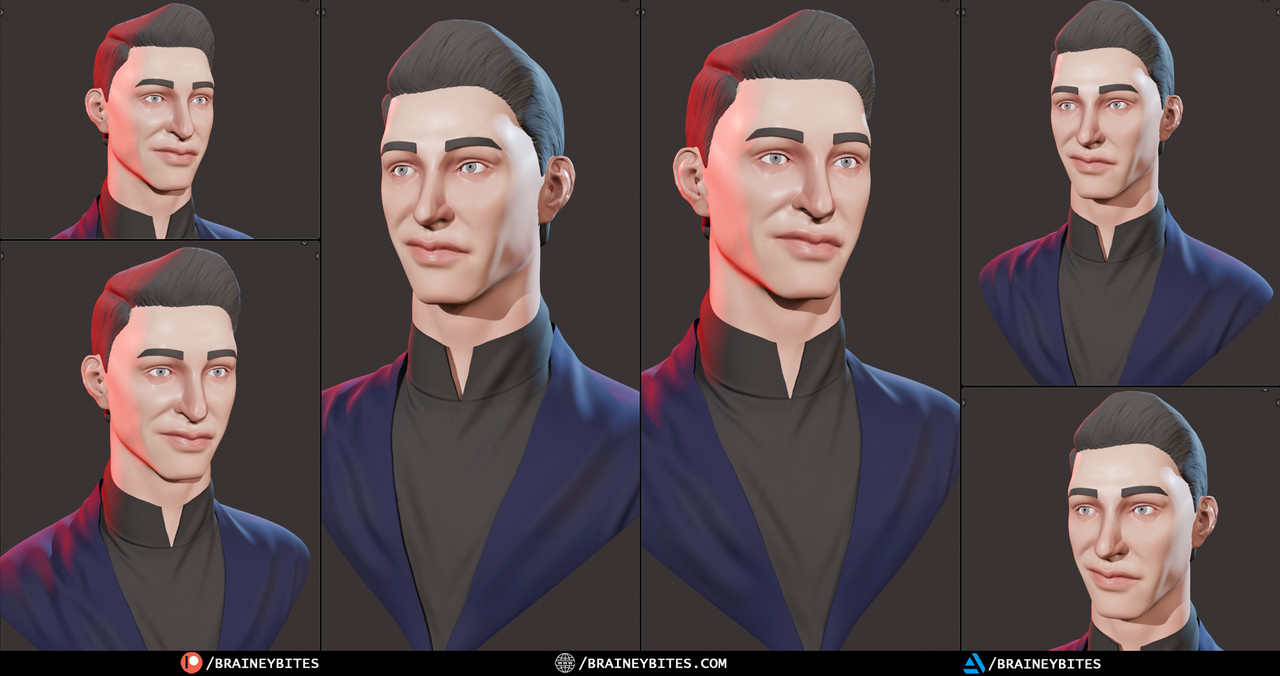
That is the transition you can see between the grey screenshots and the coloured ones. Same mesh, mostly. Completely different object emotionally.
The hair took longer than the face
I will say this plainly because I think people underestimate it: the hair was harder than everything else combined.
Slicked-back hair looks simple in a reference image. It is one shape. But one shape is exactly the problem — there is nothing to hide behind. Every stroke that goes slightly wrong reads immediately as wrong, because there is no chaos to absorb it. Getting the flow to feel consistent from the hairline all the way to the back, while keeping the silhouette clean, was the part I redid the most.
The collar was similar. It is a simple garment — a high dark tunic with a V at the throat — but a clean fabric edge is unforgiving. It either sits on the body or it floats, and there is no in-between.
Texture, light, and calling it done
Everything after the sculpt happened inside Blender too. I textured it using texture paint in sculpt painting mode, which keeps the whole thing in one workflow instead of bouncing between programs. The skin, the hair, the dark tunic, the blue outer layer — all painted directly onto the model.
Then EEVEE for the render. I know Cycles gets more respect, and there are things it does that EEVEE simply does not, but for a stylised bust like this the speed matters more than the last five percent of realism. Being able to move a light and see the result immediately changed the lighting decisions I made — I ended up with a warm key on one side and a cooler bounce on the other, which is where a lot of the character in those final frames comes from.
And then I stopped. Which is its own skill.
What I actually learned
This was a practice project. It was not for a client, it was not for a portfolio slot, it was not going anywhere in particular. And I think that is exactly why it went well.
- Stay in blockout longer. Every time I have rushed out of it, I have paid for it in the detail pass.
- Simple shapes are harder than complex ones. The hair and the collar proved it.
- Reference is a target, not a cage. I stopped trying to match the Pinterest portrait exactly about halfway through, and the sculpt got better the moment I did.
Want to watch it happen?
If reading about it is not the same as seeing it — and it is not — the whole thing is up as video. There is a short timelapse if you have got ten minutes, a full one if you have got half an hour, and the complete unedited session if you genuinely want to watch two hours of somebody pushing digital clay around with no commentary. There is also a four-minute highlight cut for the impatient.
No talking in any of them. Just the process, exactly as it happened.
If you sculpt too, I would honestly like to know: for you, is it the eyes or the hair? I have got a theory that it splits people right down the middle.
