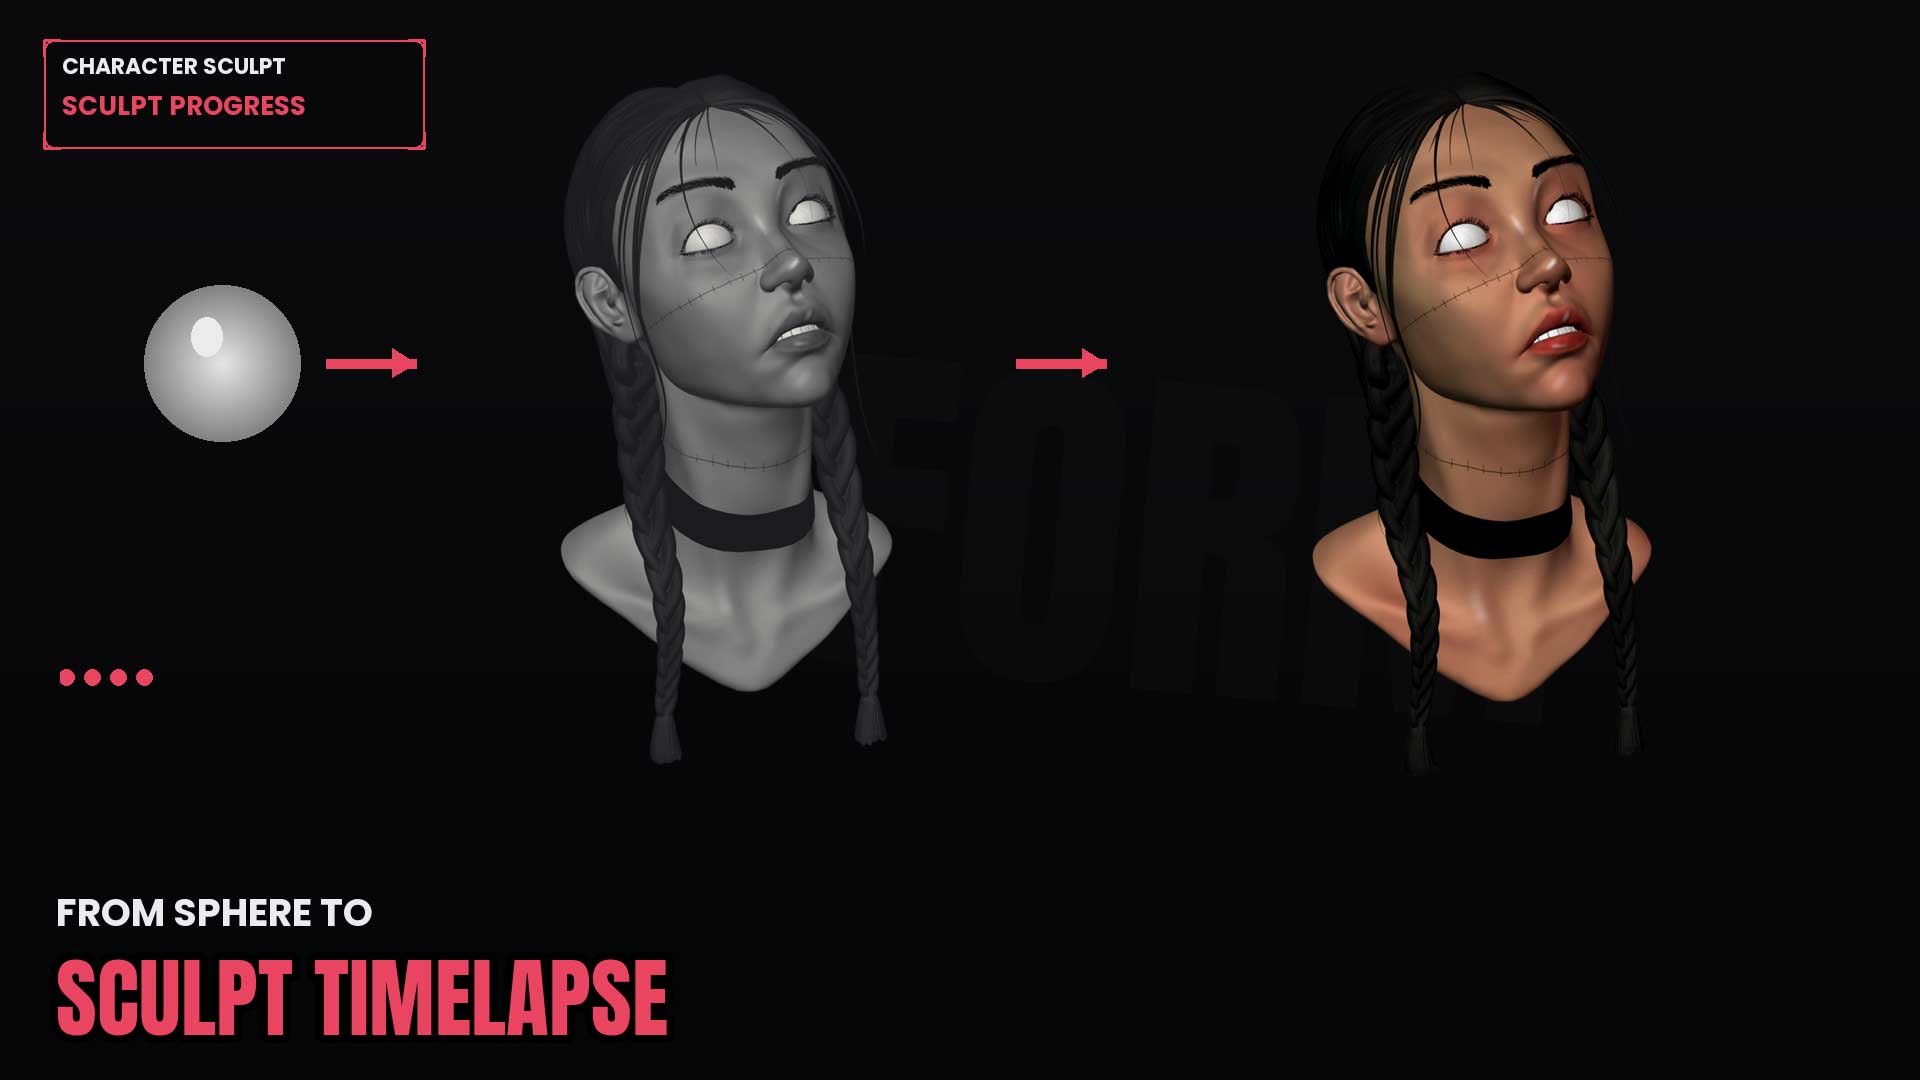
I found the reference image while scrolling one evening and couldn’t stop looking at it. A young face, braids, a plain black choker, and stitches running across the skin like the character had been taken apart and put back together by someone who wasn’t especially careful about it. It’s the kind of design that reads instantly but hides a lot of difficulty underneath, and I wanted to see whether I could build it in 3D.
This post is a look at how that sculpt went. It isn’t a tutorial, and there’s no step-by-step to follow — it’s the screenshots, the decisions, and the parts that gave me trouble.
Starting from a sphere
Every sculpt I do starts the same way: a UV sphere, dynamic topology on, and no plan beyond the reference sitting on a second monitor. There’s something clarifying about that. You can’t hide behind a base mesh someone else built, and the proportions are entirely your problem from the first stroke.
The first forty minutes were pure blocking — skull mass, jaw, the angle of the neck. The pose in the reference has her looking up and slightly away, which changes everything about how the jaw and throat read. Get that angle wrong early and no amount of detail work later will rescue it.
The face was the hard part, as usual
Stylized faces are deceptive. They look simpler than realistic ones, but the tolerances are tighter — there’s less surface to distract the eye, so every asymmetry sits right there in the open. The eyes took several passes. In the reference they’re blank and pale, almost lit from inside, and that meant the surrounding forms had to do all the emotional work: the brow ridge, the tension in the upper lid, the slight parting of the lips.
I rebuilt the nose three times. The reference has a soft, slightly upturned shape that kept sliding into either too cartoonish or too anatomical, and finding the middle took longer than it should have.

Braids, stitches and the details that sell it
The braids were built as separate geometry and shaped by hand rather than generated — at this scale and with this level of stylization, hand-sculpted strands sit better against the rest of the form than a procedural setup would.
The stitches are the signature of the whole design and they’re also where a sculpt like this can fall apart. They run across the bridge of the nose, over both cheeks, and around the throat. Too deep and they read as gore. Too shallow and they disappear at render distance. I ended up cutting them fairly shallow and letting the texture pass carry the contrast instead of the geometry.

Texture and render
All texturing was done with texture paint inside Blender’s sculpt workflow — no external software. That keeps everything in one file and lets me paint directly against the forms I’ve just built, checking the result from the render camera as I go.
The skin has a slight warmth pushed into the cheeks and the bridge of the nose, with cooler tones through the neck to keep it from going flat. The stitch lines got a darker pass painted in by hand rather than baked, which gave me control over exactly how visible each one is.
Final render is EEVEE. For a stylized bust like this, EEVEE gives me almost everything Cycles would at a fraction of the render time, and the slightly cleaner falloff actually suits the character better than fully physical lighting would.

What I’d do differently
The braids could carry more variation — right now they’re a little too even along their length, and real braids taper and loosen. I’d also push the asymmetry further next time. The reference has a subtle lopsidedness that I smoothed out without meaning to, and some of the unease in the original design went with it.
The files
The full .blend file is available on Patreon, and the model is listed on the asset stores if you’d rather buy it outright. The complete sculpting session — all three hours and forty-two minutes of it, unedited — goes up on BraineyArchives, and the sped-up timelapse is on the main channel.
Project File (Free): Patreon
A note on the reference: it was an image I came across online and I don’t know who made it. If the original concept is yours, get in touch and I’ll credit you properly. Everything in 3D — the sculpting, texturing, lighting and rendering — is my own work, built from scratch in Blender.
