
Creating a character from scratch is always a mix of planning and improvisation. In this project, the goal was to sculpt Mr. Terrific — a DC superhero — entirely inside Blender, starting from a basic sphere and gradually shaping it into a full character with pose and costume.
Blocking Out the Head & Face
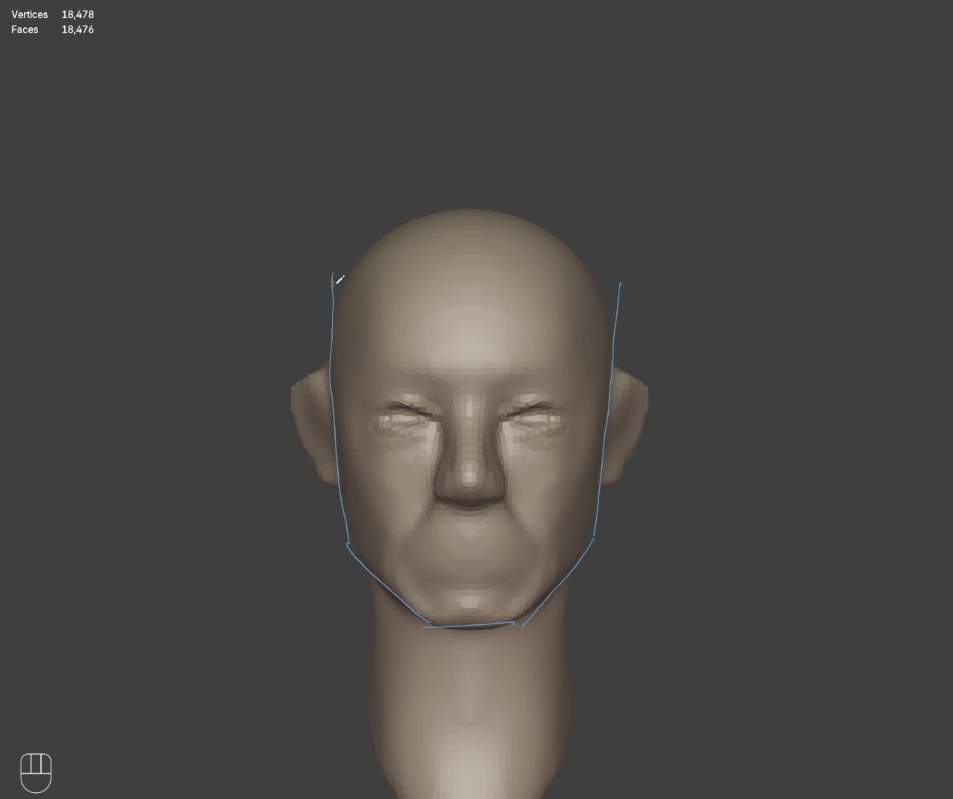
The process began by dropping in a simple sphere and gradually pushing and pulling the geometry to shape the head. Grab and draw brushes were used to get a rough head form, carving in the eye sockets and shaping the nose and mouth. After a remesh to increase resolution, detailing around the facial structure continued — adjusting proportions and refining the surface step by step.
Ears were pulled out using masking and move tools, and the neck was shaped out next. Slowly, the foundation of the face came together with anatomical landmarks placed carefully by following reference images.
Subtle volumes were added with clay strip brushes, while sharper details like the lip and eye creases were carved in using crisp and draw brushes. At this stage, the overall form and silhouette of the head started to resemble a believable human figure.
Building the Body – Torso, Limbs, and Refinement
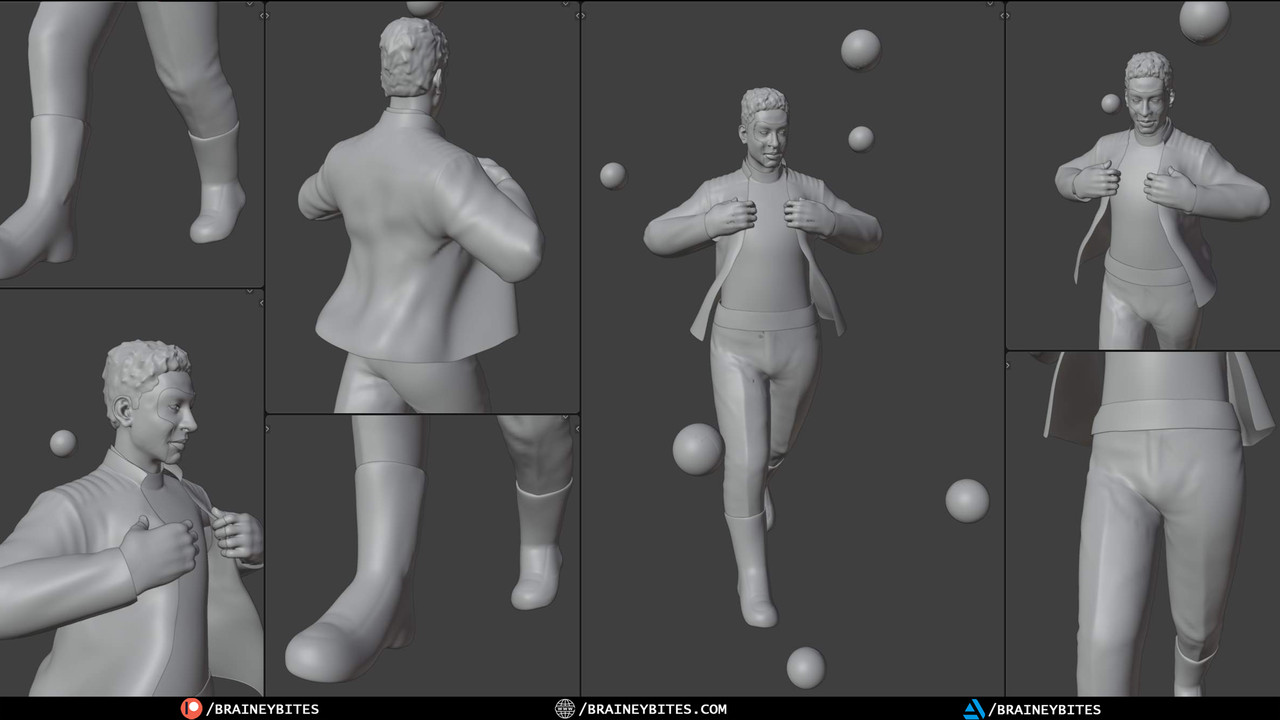
For the torso, another sphere was added and shaped in edit mode before sculpting began. Using a mix of grab, clay strips, and draw brushes, basic muscle groups like the chest, abs, and side forms were defined. Lines representing muscle separations were sketched in with crisp sharp brushes, helping to guide further detailing.
Legs and arms followed the same structure — separate spheres were added, shaped to approximate form, then remeshed to allow for detail sculpting. Muscle volumes were added and refined across the limbs, and the hand was built by sculpting individual fingers from a cube, then duplicating and posing them to form a natural hand shape. Extra detail was added afterward to integrate the fingers into the hand cleanly.
Eyes were placed using simple spheres, and once in position, the anatomy felt complete.

Anatomy Check & Realization
To ensure proper proportions, an 8-head height check was done using a subdivided plane. Keeping the head height consistent, the body was measured to match traditional hero proportions — this helped ensure the sculpt remained anatomically grounded.
Here’s an important thing I’ve learned along the way:
One of the biggest challenges in sculpting male anatomy is resisting the urge to over-muscle everything. It’s a mistake I often made early on — every male character I sculpted ended up looking overly buff, even when they weren’t supposed to.
Mr. Terrific has a more slim-fit athletic build, which took a few practice runs to get right. This kind of nuance only comes from experience and frequent study of reference. It’s a reminder that the best way to improve is simply to keep sculpting — and to sculpt different body types intentionally.
Costume Design, Texture Paint & Final Details
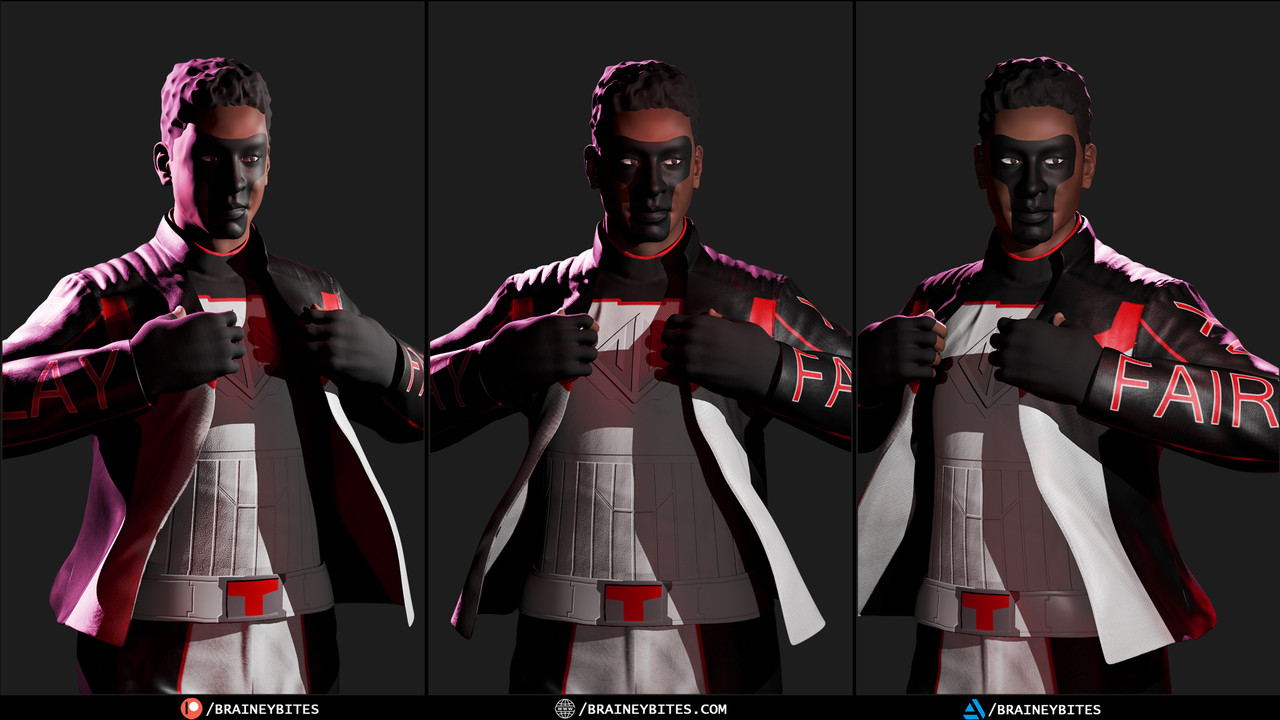
After finalizing anatomy, the next phase was costume creation using polygonal modeling techniques. Various clothing pieces were modeled and detailed with folds and creases to bring realism into the design. For the skin, painting was done directly in sculpt mode — creating a dark skin tone turned out to be tricky, as getting the tones to blend naturally without flattening the sculpt required a lot of tweaking.
Texturing the costume presented a different challenge. Blender started lagging when trying to paint on high-poly suits, and textures began appearing blurry. The solution was to export the suit to Substance Painter, where the final texture maps were painted and later imported back into Blender.
Pose & Final Look
The last step was rigging the model for posing. With everything in place, lights were added and the final render was prepared to showcase the full character.

If you’re on a sculpting journey yourself, remember:
Don’t rush anatomy. Learn to see beyond muscles. And always, always follow references — they’re your best guide to capturing realism in your characters.
Check out more images on my Artstation