
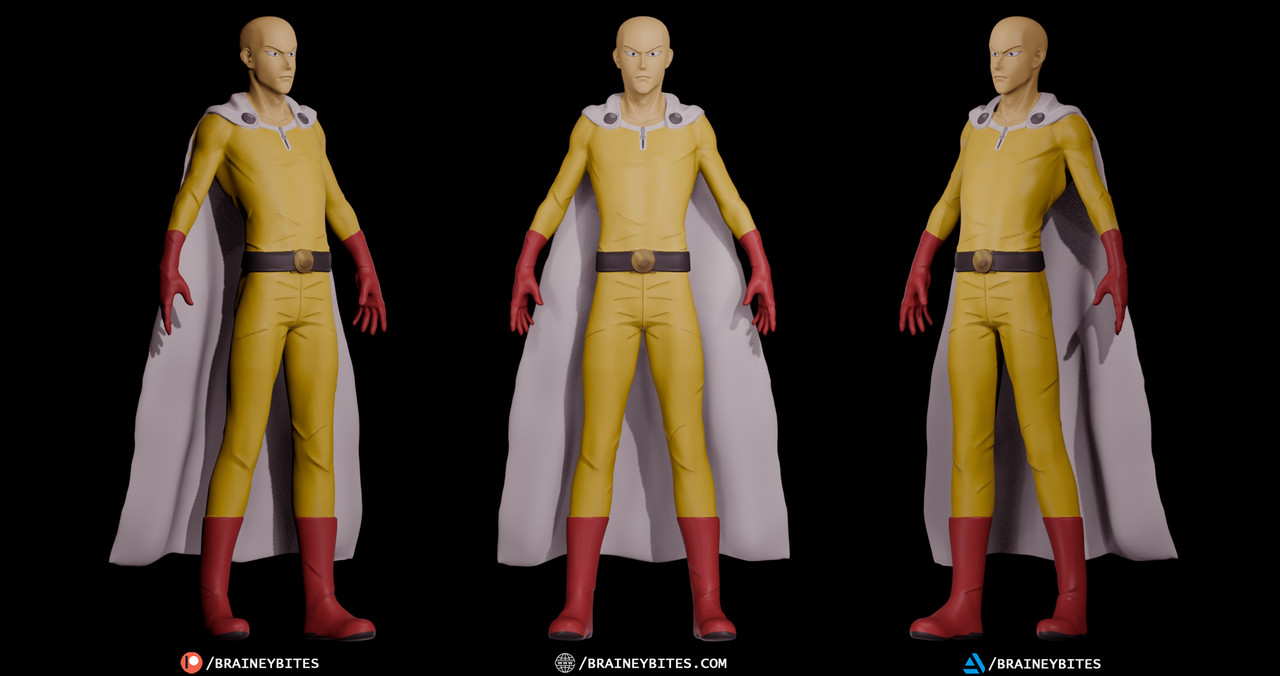
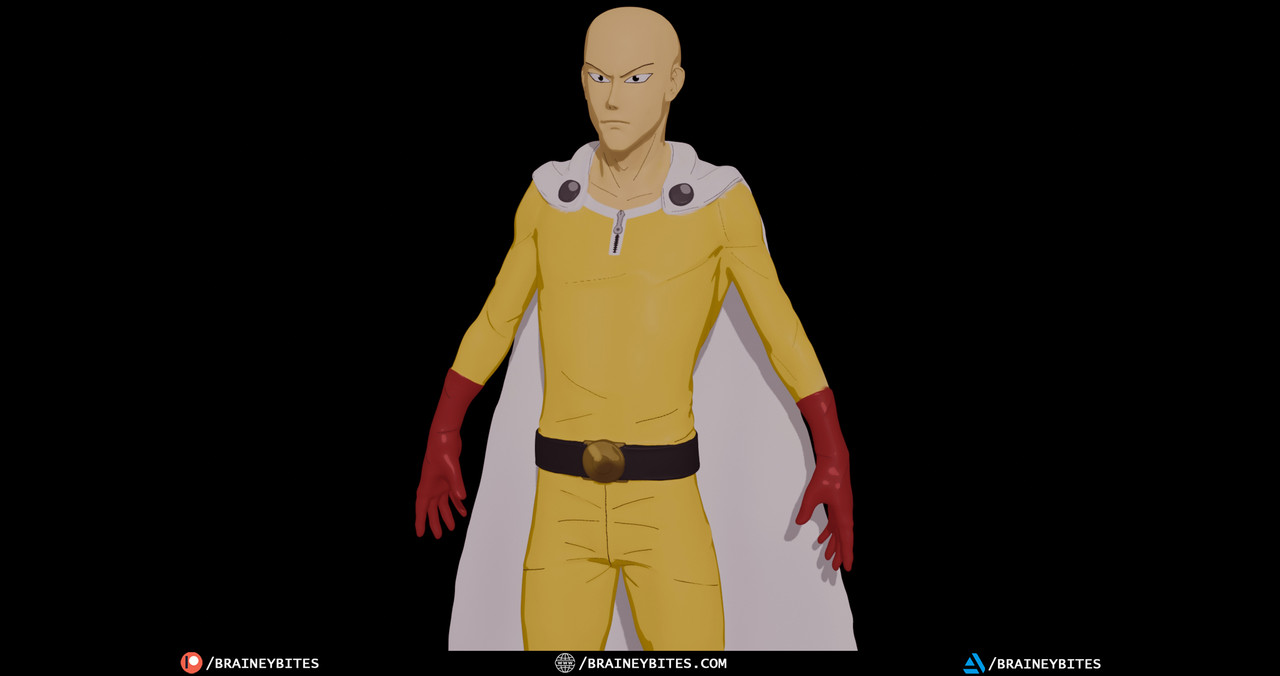
Sculpting Saitama has always been a fun way to explore clean anime anatomy, and this time I kept everything fully inside Blender. No external tools, no retopo stages — just pure sculpting practice.
The goal wasn’t to create a game-ready mesh or worry about polycount. Instead, it was all about getting those smooth shapes, sharp anime planes, and the simple yet iconic proportions Saitama is known for. Since it wasn’t meant for animation or production, I allowed the mesh to stay dense and focused more on forms than topology.

Checkout my Artstationfor More:
Texturing was also done directly in Blender using polypaint-style sculpt mode. Keeping it in the same environment helped maintain the flow — blocking out colors quickly, adjusting tones on the fly, and keeping everything feeling painterly and clean.
Overall, this was a straightforward anatomy and style practice session. Nothing too crazy, but refreshing in its simplicity. Sometimes just sculpting for the sake of sculpting is what keeps the creativity going.